☑️ Add a New ParcVu User in ParcVu Desktop
Last updated 8 months ago
To access this function, the user will need the Allow System Maintenance Menu user permission
Go to System Maintenance Sub Menu > Maintain Users
Click on the ‘Add New User’ Icon at the top of the of the screen
Already have a User with the same permissions that your new User needs? Use the Copy User function to save time. Find out more here: Copy A User

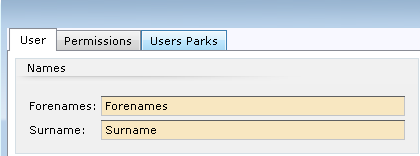
A fresh User screen will be displayed
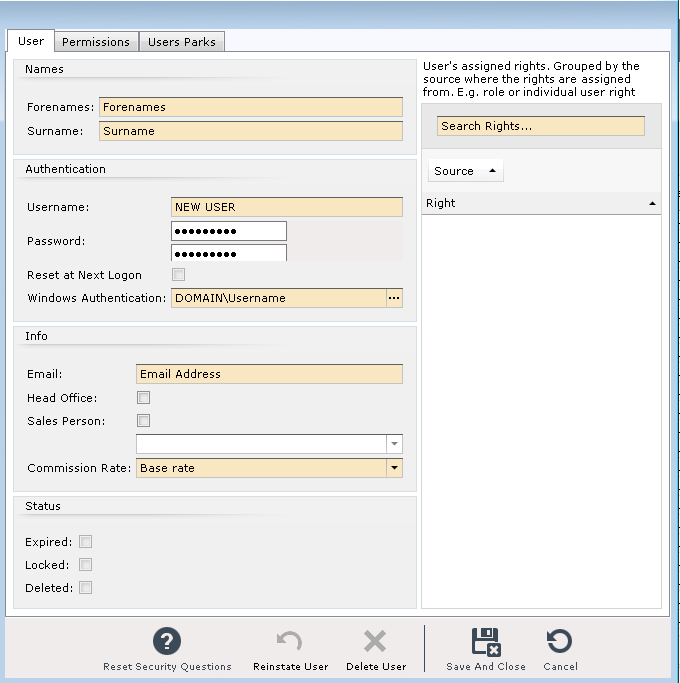
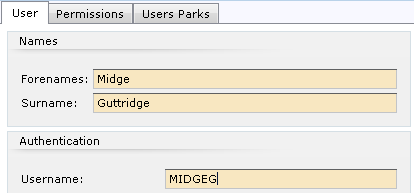
Enter the User’s Forename and Surname.
Give the user a unique Username, we recommend sticking to a format for usernames so that accounts are created consistently. For example, Surname followed by first initial;
The password fields will be filled with blobs - clear these out and create a Password for the user, ensuring you enter the same Password into both boxes. When setting up a new User, we recommend that you set a temporary password and prompt the User to change it at their first login. You can do this by ticking the Reset at Next Logon box
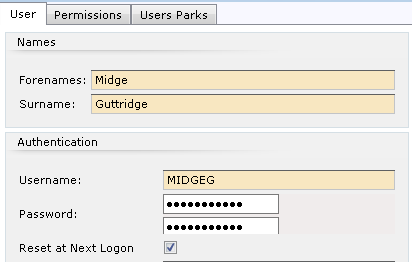
The password will need to be between 7 and 12 characters long with both alphabetic and numeric characters to pass validation (this system will show this as **** for security purposes). You cannot use special characters such as % or ! when setting a Password for use in ParcVu Desktop
Prefer to use Windows Identity to log in to ParcVu Desktop? Find more information on setting this up here: Log In With Active Directory In ParcVu Desktop
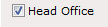
Head Office Users
Certain actions in ParcVu can only be carried out by users who would be classed as Head Office team members. If you don’t have a Head Office, you’ll still need to have users with this setting to ensure all functions in ParcVu can be accessed
If the User is a Head Office User, click into the box marked ‘Head Office’, to tick and flag the User, leave this box blank if the User is at a Park.
Sales Person Users
If the User is to be a Salesperson in ParcVu, then the ‘Sales Person’ checkbox must be ticked
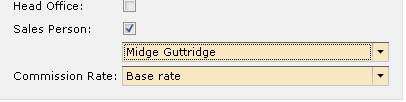
Add any Salesperson records that the User should have access to from the dropdown list
To find out more about Salesperson records, click here: Salesperson Records in ParcVu Desktop
If you have Commission Rates set, the one that applies to this Sales Person can be selected from the list
Assign Roles & Rights
The New User now needs to be allocated Roles & Rights, dependant on their Job Role. These control what the User is able to see and do within ParcVu
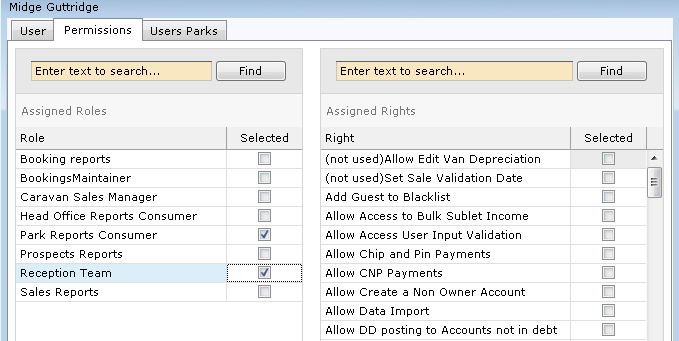
Click on the ‘Permissions’ tab at the top of the pop up screen

The available Roles and rights will then be displayed

If there are pre-set ‘Role’(s) you wish to add select these from the list in the ‘Role’ section, click on the required one in the list to add it to the User Account
Want to know more about Roles in ParcVu Desktop? Click here: Creating New Roles in ParcVu Desktop
Next, click into any required rights to ‘tick’ and select them.
Did you Know?
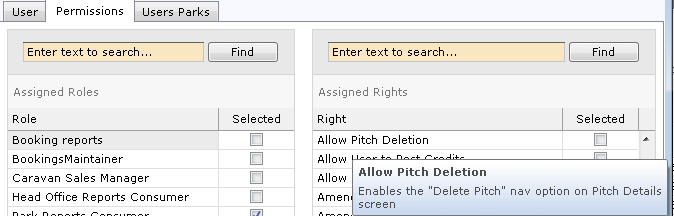
Hovering over a Right will show what that Right does
Assign Parks
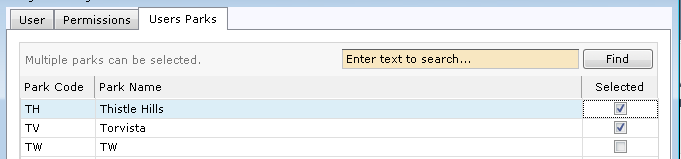
Click onto the ‘Users Parks’ tab.
Select the Park(s) that the User should have access to
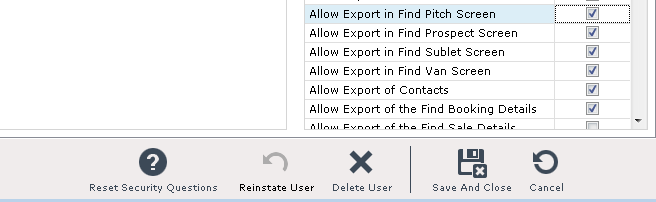
When finished, select ‘Save & Close’ and the bottom of the screen
Looking for information about RDP User Accounts? Click here: RDP User Accounts