☑️ Add Images to a Holiday Home in ParcVu Desktop
Last updated 7 months ago
Navigate to the ‘Van Details screen of the required Sales Van and select ‘View Images’ from the navigation list.

The Van Images screen will be displayed, any already added images will show in the list on the left.

To add a new image selct ‘New Image’ on the navigation list.

The file locator popup will appear, select the required image for the location they are saved

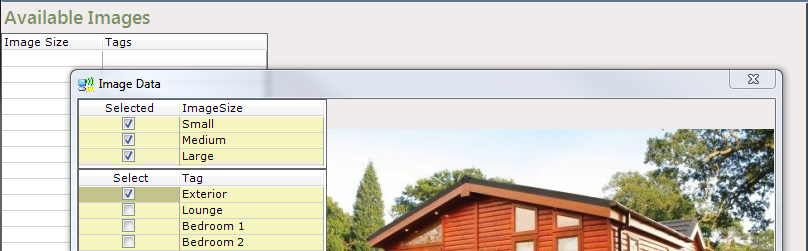
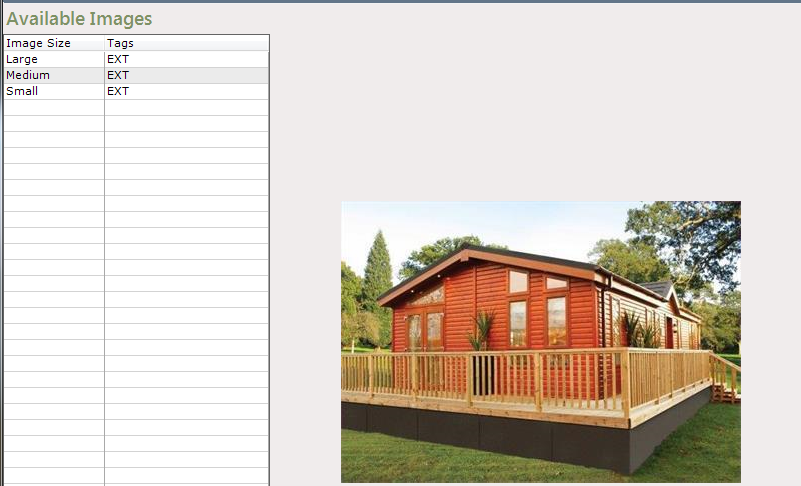
The Image Data screen showing the selected image will then be displayed.
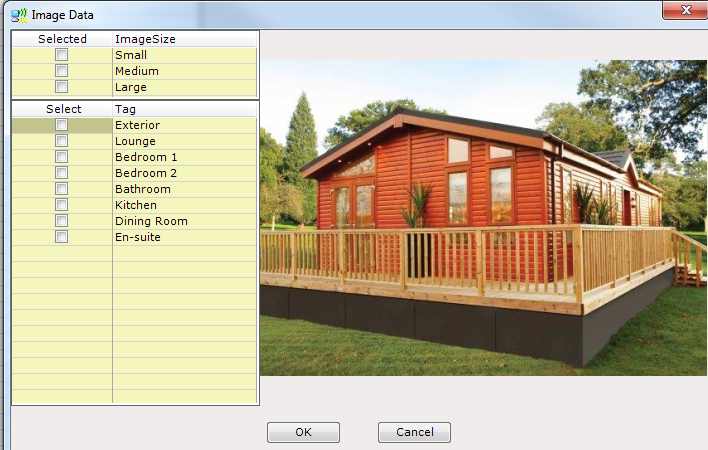
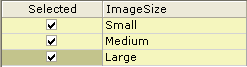
Select the ‘Image Size’ by clicking into the field next to the required size to ‘Tick’ and select it. If you require all sizes to be available then tick into all the fields.
Next select the correct ‘Tag’ for the image from the list displayed, this can be renamed at this point if required by typing the correct name into the tag column and click ‘OK’.
The selected image will now be displayed and if more than one size was created, these will be shown on the list on the left.
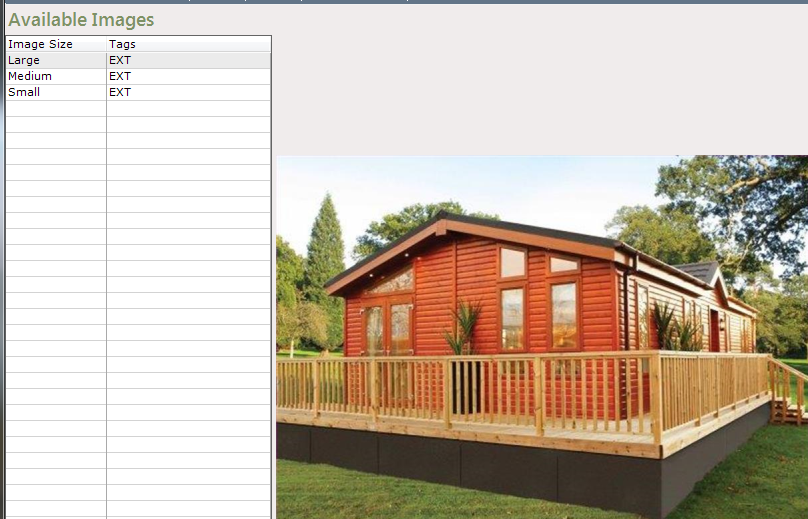
To view the other sizes, just click onto the required size in the list and the image will be displayed.
The add image process is then complete. To add further images, repeat the above steps until all images are added.
Images added will be available to be picked up by your Web developers.