Make a Booking in ParcVu Desktop
Last updated About 2 months ago
The Make a Booking function in ParcVu Desktop is only available to existing customers who previously signed up for the legacy ParcVu Bookings module. New subscribers will be offered enrolment in the Booking Experts module. Existing customers using legacy Bookings will be offered the opportunity to upgrade to Booking Experts - contact your Account Manager for more information
From the Home Screen, go to Bookings Sub Menu > Make Booking
The Make a Booking screen will be displayed:
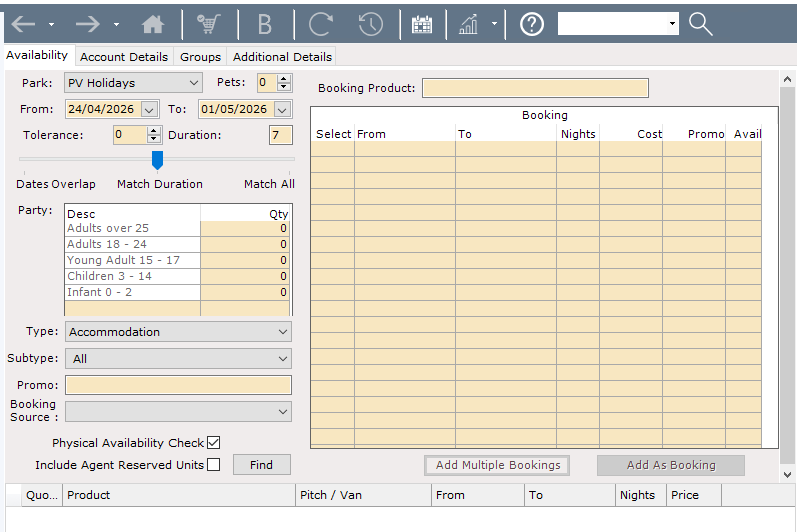
Key booking search criteria:
Park
Date Range
Duration of the holiday in number of Nights
The best way to prevent mistakes when doing an availability search is to set the ‘from’ date and the duration, then slide the slider over to one side then back to the middle - trying to set both start and end dates AND a duration can cause some odd results, it’s best to allow the system to calculate the ‘to’ date
Number of people within the party
Number of Pets (if applicable)
If you include pets in your availability search, only Booking Products marked as Pet Friendly will be returned
Accommodation or Touring Booking
With this information the availability search can begin
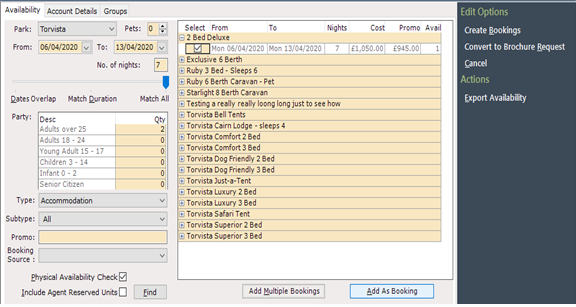
Set the required Dates, Party details and Holiday Type i.e. ‘Accommodation’ or ‘Touring’ etc., click “Find” to search for Availability. The list of all the available products for the criteria entered will be returned.
Remember to add any manually applied Promotion codes in the ‘Promo’ field, prior to searching, to ensure you get the correct pricing
Automatic Promotions will be auto applied, and the discounted price will show in the ‘Promo’ Column.
When ready to select the required Booking product, click on the on the left of the product and then, click into the field to ‘Tick’ and select it.

Select “Add As Bookings” at the bottom of the grid
An ‘Extras’ pop up screen will be displayed, showing all available Extras and their associated Prices that can be added to the booking if required
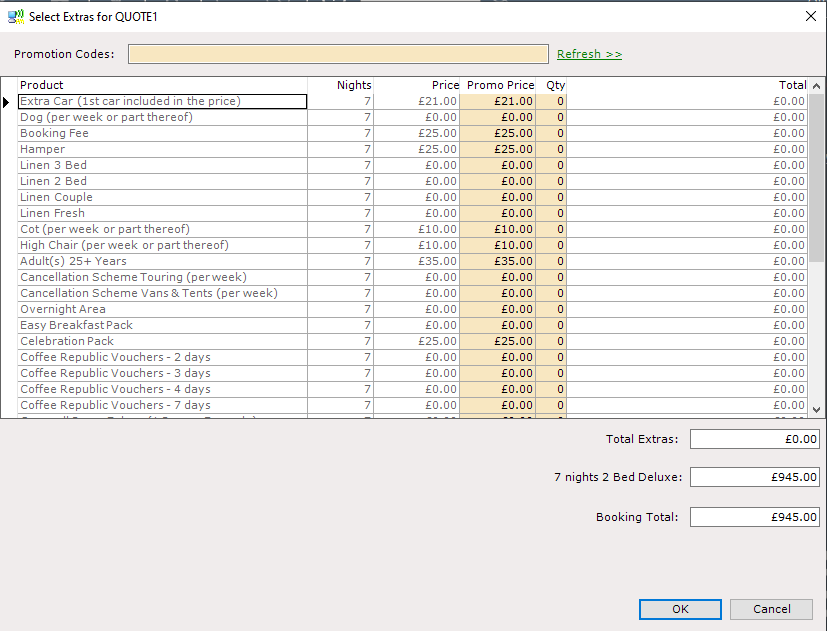
To add an Extra, click in to the ‘Qty’ column for the required Extra and enter the amount required, click into another column and the Price will update.
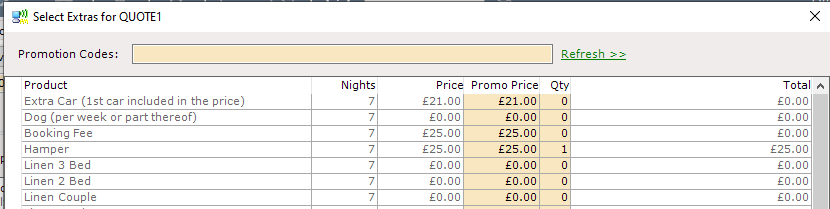
When all required Extras are added, click ‘OK’
The selected booking product will now appear in the bottom grid, The Price shown will have updated to include the costs of any Extras added.
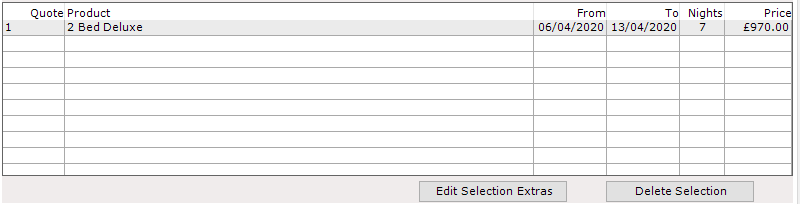
Enter a Source for the booking by selecting from the “Source” dropdown list.


Next, click on the ‘Account Details’ tab at the top of the Booking screen
The Name, Address and Contact fields will be displayed for entry.
First, enter the customers Postcode.
As soon as some text is entered in the “Postcode” field, the “Lookup” button becomes enabled.

Click on the “Lookup” button to load the address search screen. Any existing guests in the system with the same postcode (e.g. a person may have had a booking in the past) are automatically returned.
If the customer exists in the list, highlight the relevant row in the grid and click on the “Selected Guest” button at the bottom of the grid.
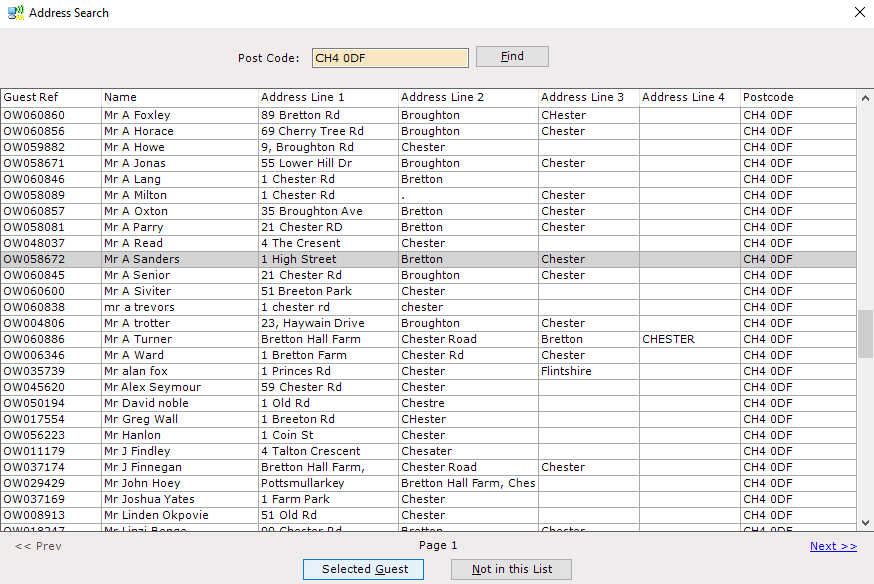
A customer should only be selected from the list if all the details are correct, as selecting and changing details will change the details of another existing customer
This will close the address search screen and automatically populate the Name and Address fields.
All the existing customers’ details will now be displayed in the Account Details screen.

If the list of guests returned on the address search screen does not include the address in question, or if no matches are found, then click on the “Not in this List” button at the bottom of the grid.
This will close the ParcVu address search screen and load the Postcode Address search window (if used by your Company) to search on registered addresses in the country.
The “Post Code” field will automatically populate. Click the “Search” button on this screen.
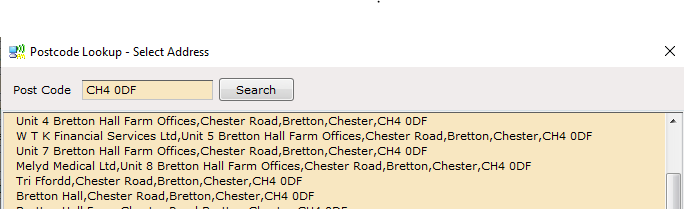
This will automatically populate the address fields if a match is found, provided the Postcode search facility has been enabled.
Click the required address in the list and the click at the bottom of the screen.
All the address lines and postcode fields should be automatically populated.
The following fields will still need to be filled in:
Shortname: A short name for the customer; for example: “Sanders”
Name: The customers full names; for example: “Mr A Sanders”
Salutation: This is used on any correspondence automatically generated by ParcVu, and would appear after the word ‘Dear’
For example: “Mr Sanders”
Contact Numbers for:
Tel Day: 01244 661777
Eve: 01244 1234567
Mobile: +447790 123456
Email: sanders@test.com
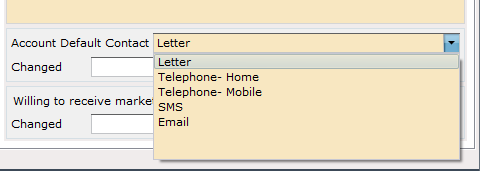
Set the ‘Contact Method’ types, for Both Account contact and Marketing contact
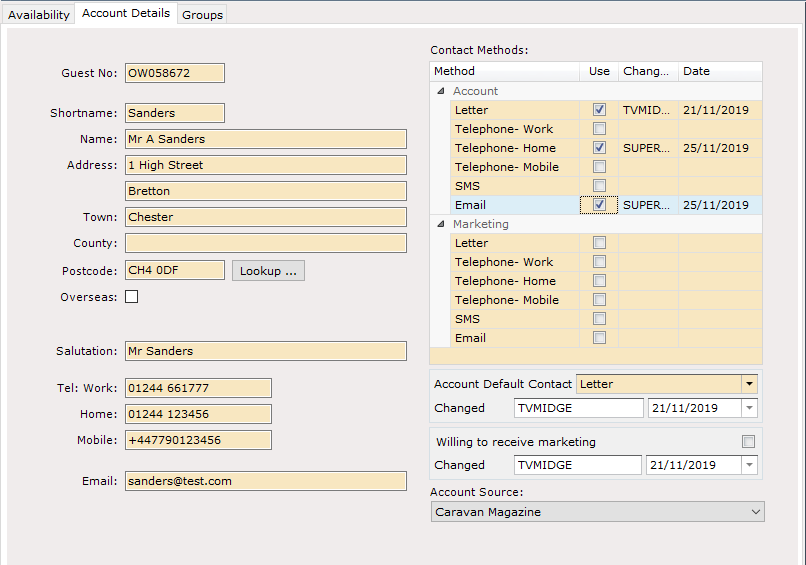
If a contact method is selected the corresponding Telephone Numbers and Email Address must be entered on the account details section.
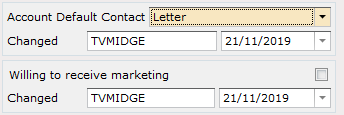
Select the ‘Account Default Contact’ method from the Drop-down list.
If the customer confirms they are willing to receive marketing, set the flag for ‘Willing to receive Marketing’ by clicking into it to ‘tick’ it, otherwise leave this field blank.
If ‘Email’ is selected as the ‘Preferred Method’ of contact then certain correspondences in ParcVu, such as ‘Booking Confirmations’ will be sent to the customers supplied email address.
Select the customer’s ‘Source’ from the dropdown list.

If the booking is part of a “group booking” it can be added to a group at this stage.
There is a tab called “Groups” which when clicked will allow you to link the booking to other group bookings. For more information on grouping bookings please see the group bookings section of this guide.

Once all the necessary information has been captured it is possible to ‘save’ the booking by clicking on the “Create Bookings” option on the navigation list.

If an existing customer was selected from the list and this customer has previous bookings where the Party Member numbers match those entered on the current booking a popup screen will be displayed showing the possible match to allow you to select them for the current booking.
If you wish to use the Party Members shown, click into the ‘Select’ Column
Against the names and then click ‘Ok’.
The Booking Details screen will be displayed, showing Booking Reference Number and any Extras that were added to the booking will be shown in the bottom grid.
A Payment should now be taken, and the Booking should be ‘Assigned’ to a physical Unit/Pitch.